I painted my largest painting
I’ve been painting botanical subjects for a few years now and not to sound over confident but I’m fairly comfortable with them. They don’t phase me like they used to!
Time for a challenge. I challenged myself to paint a larger painting. The largest I’ve done so far is 1/4 Imperial sheet, which is about A3. Not wanting to push too far I decided to go for a 1/2 Imperial sheet (A2)!
This was daunting. I was nervous. Was the paper going to fit on my desk? How do I go about planning it? What if I ruin it? Could I really do this?
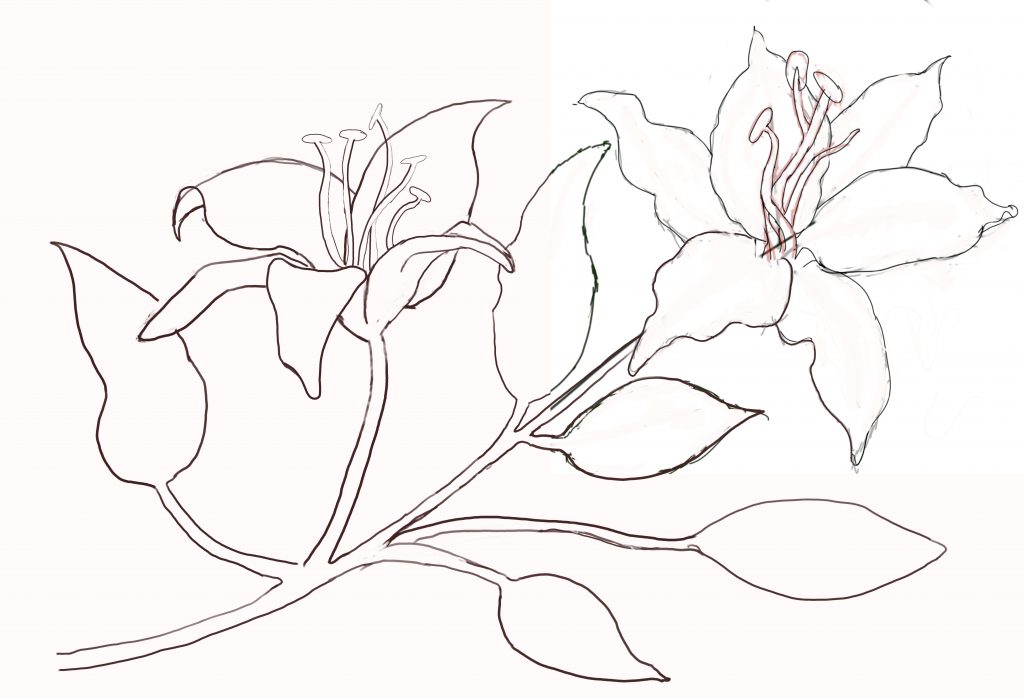
I breathed and tried to be calm and think about this rationally. I started as I would any major piece of art – a good sketch. I’ve learnt and re-learnt many times now that a bad sketch sets you up for failure. I find it’s best not to rush this and to take enough time to make sure I’m happy with it. I did the sketch digitally then I had to cut it up into 4 pieces so that I could print it. Harder than it sounds!
Hard Part Done?
Preparation
Another key step on the path to ensure the painting is as smooth as possible. I erased any really dark lines that had been transfer along with any unsightly marks or smudges. I then masked off the stamens of the flowers as I’m clumsy and did not want them to have any blue transfer.
While the masking fluid was drying I set up everything else. My watercolour palette well stocked with all the colours I needed, water jars for rinsing and painting, any brushes I may need, kitchen roll for dabbing and cleaning and then finally making sure I had my reference images to hand.
I was ready.
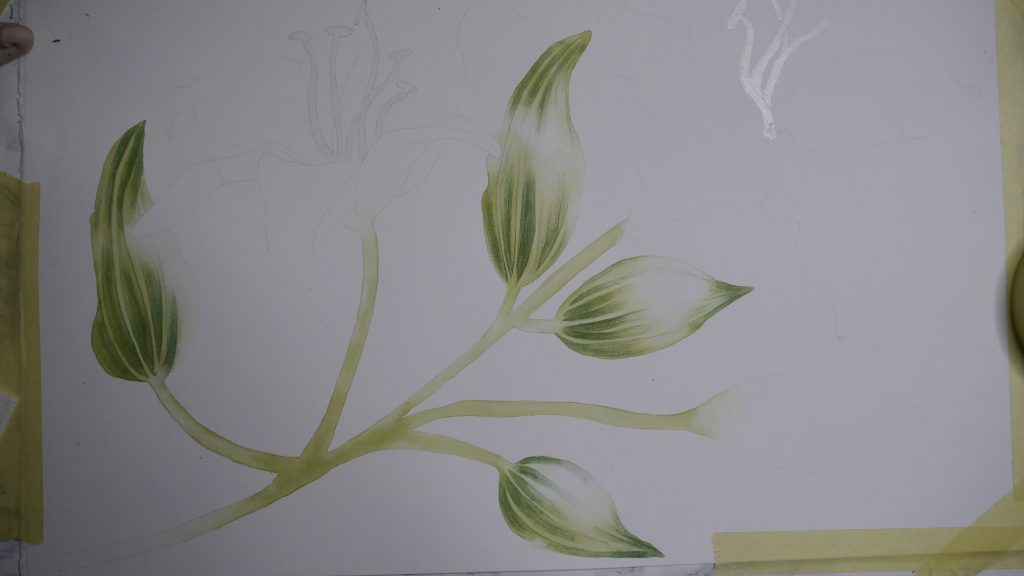
The first wash was the most daunting. Once I had the first splash of colour down I felt myself start to relax – I can do this!
With any big or detailed painting I always recommend going slow. Lots of light layers. If you mess anything up it’s easier to fix. Before I knew it the painting was starting to take shape.
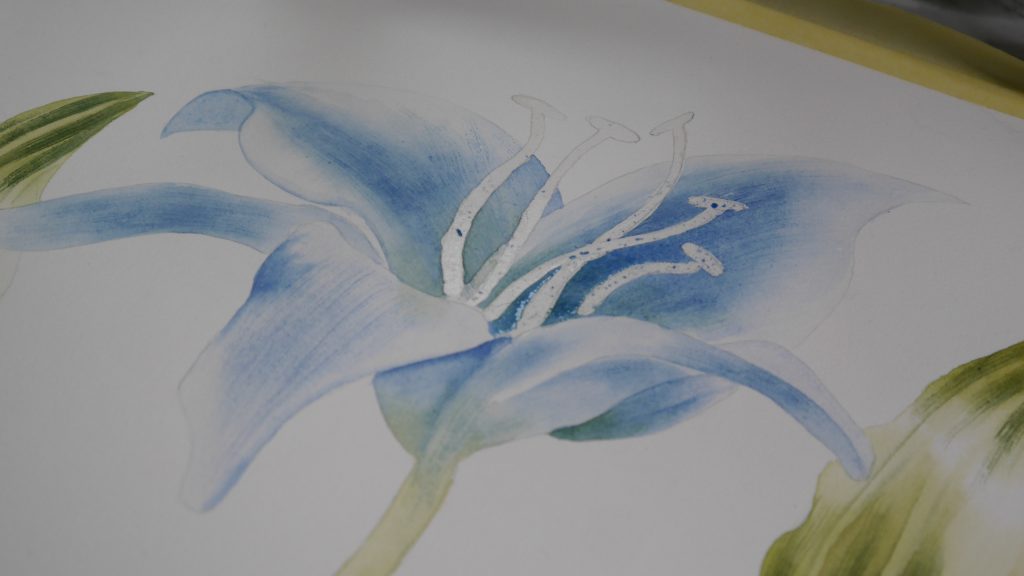
Feeling Blue?
I added my first layers of beautiful blue paint. I love the colour blue. This was definitely going to be the colour I use for these lilies.
Once the washes were done with out came the splayed bristles for some dry brushing. For those unfamiliar with the term, dry brushing is the technique of gently splaying the bristles of your brush and using a drier mix of paint to dust onto the paper. This creates fine lines and textures that can resemble veins, shading and fur. It can be tricky, to much paint and there won’t be any fine lines just blobs. Too little paint and the lines will be too dramatic. There is also a danger of over doing. Some botanical artists do this and in my personal opinion it stops the painting look like it was done with watercolours.
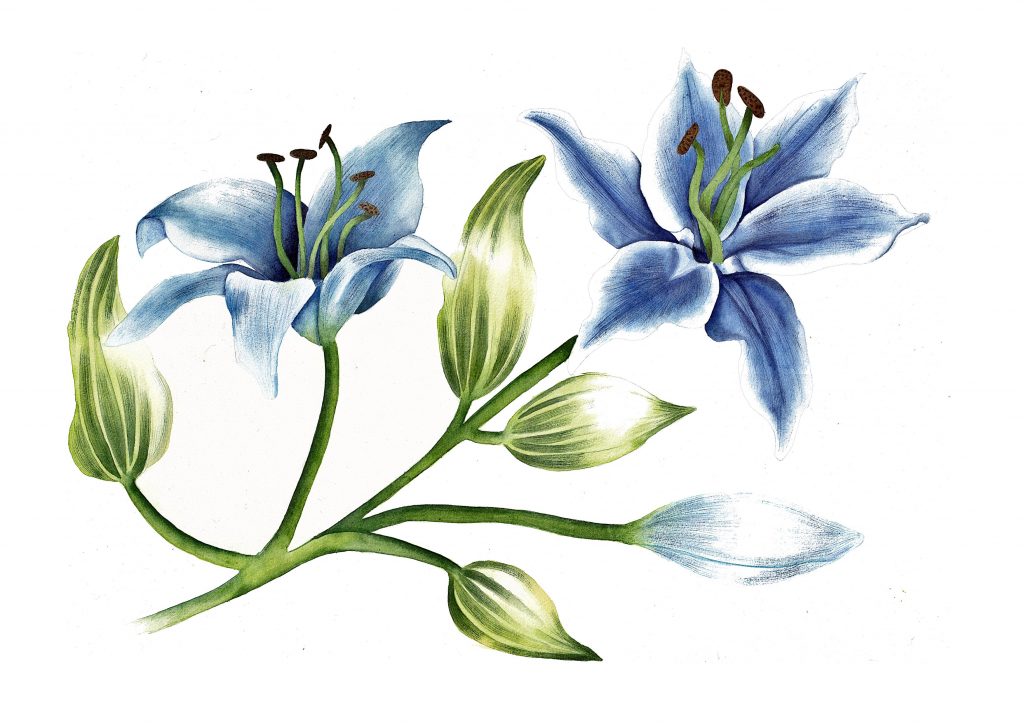
At this stage I remove the masking fluid and paint the stamens. I also tidy the painting up by using some thin washes of paint to add depth and to blend in some of the dry brush. I feel that this helps make the dry brushing look like it is part of the petal/leaf instead of just sitting on top.
Once I’m happy with the paint and how it looks over all I pull out the coloured pencils. I use them to add extra textures and a little more depth to the painting. I use them sparingly, remember this a piece done with watercolour paint, not pencils. I also use the pencils in some tight corners that are near impossible to do with a brush.
And that’s it. Done!
After all the worry the hard work has paid of and the painting is finished. I have a video showing some of the progress.
I was super happy with how this painting turned out. The colours were good and the paint felt complete.
You can also see more in progress shots over on my patreon page here.
Sign up to my newsletter by heading to the homepage.
Cheers